Good day All,
Welcome back!!!

So underlying above infrastructure is ready so now we need to add our first Server in Azure and Install AD role by connecting to On premises AD Server.
After we do that, any new VM in Azure we can add the VM to a AD in Azure Site rather then connecting to On-premises AD.
For all System Admins this Azure site is just one more Site with local AD Servers.
 As my On prem AD is 2012 i picked 2012 only


In about 5-10 mints you VM will get created with Public Attached IP
Login into the Server and make sure you able to connect and confirm the Server Name
You will need to do 2 important steps one is assign Static IP for the VM and also DNS Server change it to 10.92.76.10 on your on premises AD Server


Now login to Server do the Ping test to your On premise AD Server

When you try to ping from On Premise AD Server to VM 10.1.0.4 the pings fails as by default ICMP is blocked in the VM
run the below command in the Azure VM to allow ICMP traffic and you should be able to Ping it.

On ONPREMFOODC:

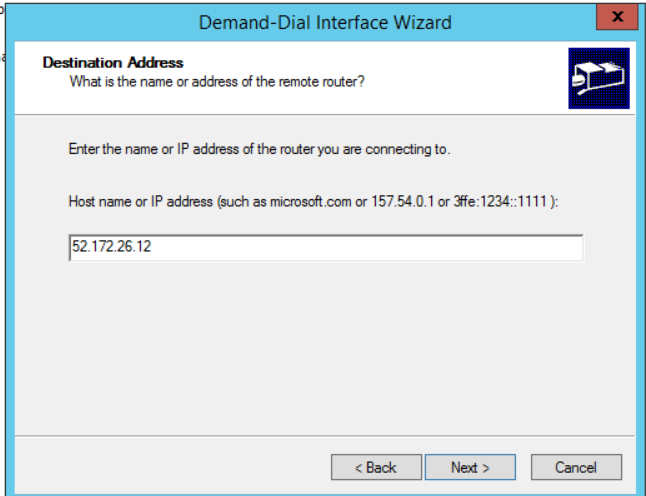
Now add your Azure VM to your existing On Premises AD Server
If you see below i was able to successfully add the VM to On premise AD Server and to existing domain FOO.com

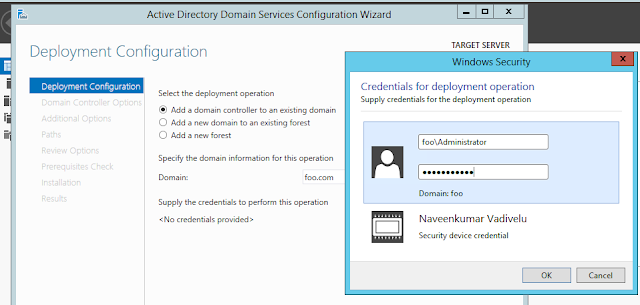
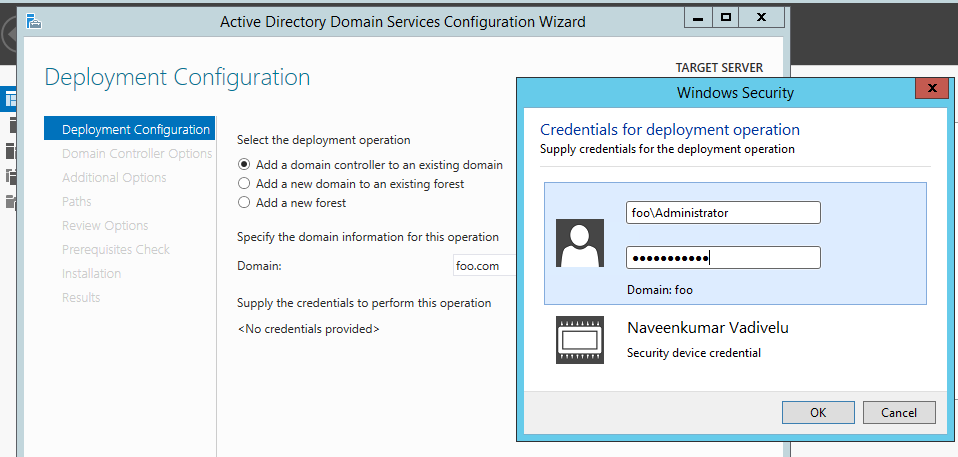
Next step is to Proceed with Active directory domain and Service role and promote this Server as AD.and DNS Server,
After completing the Install you should be able to Open the Active directory Sites and Services and see the new Azure AD reporting in there

if this we have successfully created a AD/DNS Server in Azure site and any new VM's we have point to local AD and DNS Server.
Before i end couple of things you should do is always create a Azure JumpServer in the same Virtual network and have a Public IP Assigned and any other VM's you create just uncheck creating Public IP,
As the JumpServer and other VM's are connected to same vnet they will communicate with no issues.
Finally it comes to a end of this series. i know as system Admins when you do migration you may already have a Azure site with all the Netwroking ,conenctions all done for you .. you may just create new VM or do migration having knowledge on how this is all been connected is very useful
This helped me and hopefully this helps someone too!!!
Until next one you all have good day!!!!!!!!!!!!!!!!!!!!!!!!!!!!!!!!!
Welcome back!!!

So underlying above infrastructure is ready so now we need to add our first Server in Azure and Install AD role by connecting to On premises AD Server.
After we do that, any new VM in Azure we can add the VM to a AD in Azure Site rather then connecting to On-premises AD.
For all System Admins this Azure site is just one more Site with local AD Servers.


In about 5-10 mints you VM will get created with Public Attached IP
Login into the Server and make sure you able to connect and confirm the Server Name
You will need to do 2 important steps one is assign Static IP for the VM and also DNS Server change it to 10.92.76.10 on your on premises AD Server


Now login to Server do the Ping test to your On premise AD Server

When you try to ping from On Premise AD Server to VM 10.1.0.4 the pings fails as by default ICMP is blocked in the VM
run the below command in the Azure VM to allow ICMP traffic and you should be able to Ping it.

On ONPREMFOODC:

Now add your Azure VM to your existing On Premises AD Server
If you see below i was able to successfully add the VM to On premise AD Server and to existing domain FOO.com

Next step is to Proceed with Active directory domain and Service role and promote this Server as AD.and DNS Server,
After completing the Install you should be able to Open the Active directory Sites and Services and see the new Azure AD reporting in there

if this we have successfully created a AD/DNS Server in Azure site and any new VM's we have point to local AD and DNS Server.
Before i end couple of things you should do is always create a Azure JumpServer in the same Virtual network and have a Public IP Assigned and any other VM's you create just uncheck creating Public IP,
As the JumpServer and other VM's are connected to same vnet they will communicate with no issues.
Finally it comes to a end of this series. i know as system Admins when you do migration you may already have a Azure site with all the Netwroking ,conenctions all done for you .. you may just create new VM or do migration having knowledge on how this is all been connected is very useful
This helped me and hopefully this helps someone too!!!
Until next one you all have good day!!!!!!!!!!!!!!!!!!!!!!!!!!!!!!!!!